The Fireplace Doesn't Move: Making the Hearth Junction Look Built-In
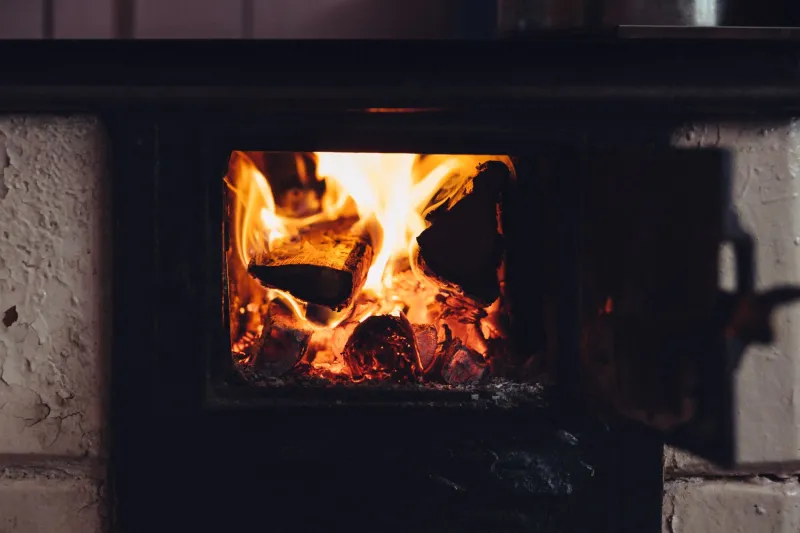
Most flooring decisions are negotiable. The fireplace isn't. You can move a sofa, repaint a wall, even change your mind about the rug. But the hearth sits where it sits, at the height it was built, with a chimney breast doing its own thing behind it. That makes the hearth line one of the most visible flooring junctions in a UK home — and one of the easiest to get wrong if it is left until the last day of the job.
A patchy hearth line rarely happens because the flooring is bad. It happens because nobody measured the fireplace properly before the order went in. The floor arrives, the fitter gets to the chimney breast, and suddenly there is a choice between a cramped expansion gap, an ugly lump of trim or a board cut so tight it has nowhere to go when the room warms up.
Begin at the hearth, not the sample board
Before you fall for a plank sample, spend ten minutes at the fireplace with a tape measure and a torch. Note how far the hearth projects into the room, how high it sits above the existing floor, whether it is square to the chimney breast and whether the edges are straight or slightly worn. Look at the alcoves either side. Check whether the hearth is a separate slab sitting on the subfloor or a built-up construction with a lip.
If the hearth is staying — and in most homes it is — that information should go on the flooring plan before anything is ordered. If the hearth is being replaced or a woodburner is being fitted, the appliance instructions and Approved Document J are the documents that matter. Heat clearances and hearth dimensions are not styling choices. The floor has to work around those requirements, not the other way round.
Three lines to draw on the plan
A fireplace junction is not one line. It is usually three.
The first is the front edge of the hearth, where the main floor meets stone, slate, tile or concrete. The second is the side of the chimney breast, where the floor runs past and into the alcoves. The third is the return into any recess, where skirting, plaster and floor all meet in a corner that is rarely as tidy as it looks.
Mark all three on a simple sketch. It helps you decide where the floor should run continuously, where a trim is genuinely needed and where a bead will look like an apology. It also shows the fitter where the expansion gap has to be hidden without being sealed solid.
The expansion gap has to go somewhere
A fireplace is not a wall, but it behaves like one when a floor expands. Timber, engineered boards and many floating floors need a gap at the perimeter. Wedging a board tight against a stone hearth because it looks neater is asking for a squeak, a lift or a hollow-sounding patch six months later.
Leave the gap specified by the flooring manufacturer, then cover it with a detail that can move. A flat beading, a small scotia or a purpose-made threshold can all work. The important bit is how the trim is fixed: where possible, fix it to the hearth or the skirting rather than pinning through the floor. That way the floor can still move underneath it.
Silicone is not an expansion gap. Nor is a bead of flexible filler trowelled into the void and forgotten. If the junction needs sealing against draughts or dust, use a flexible sealant that still allows movement, and keep it away from the actual expansion zone.
Levels catch people out more than colour
Finished floor height is the quiet villain of the hearth line. A 14mm engineered oak on a thin underlay may sit close to the top of a slate hearth. A 20mm solid plank on battens may rise above it, making the hearth look buried and the board edges vulnerable. A thicker tile backer board can do the same thing.
Work out the full build-up — underlay, adhesive, board, tile, whatever is going down — before the order is placed. If the new floor will finish higher than the hearth, decide whether the hearth needs adjusting, whether a threshold will bridge the difference or whether the flooring should stop short. Do not let anyone pack out a hearth with offcuts to make the levels look right. That is how a neat detail becomes a wobbly edge.
Choose the material for ash, heat and boots
Near a fireplace, the floor has to cope with more than feet. There is ash, grit, the occasional ember, Radiant heat from a stove and the general traffic of logs being carried past.
Porcelain and stone are robust and easy to sweep, but grout lines can collect fine ash and stone needs sealing if it is porous. LVT is practical in many rooms, but check the manufacturer's guidance for heat and proximity to stoves rather than assuming all luxury vinyl is suitable. Engineered wood is stable and looks at home in period rooms, though a brushed or oiled finish will show ash less than a high-gloss one. Solid wood can work, but it moves with heat and moisture, so acclimatisation and a proper expansion gap matter even more. Carpet right at an open hearth is rarely the sensible choice.
No flooring is fireproof just because it is hard. Keep the hearth clear, follow the appliance guidance and use a fire-resistant hearth where required. The flooring is there to finish the room, not to make up for a missing safety detail.
Details that read as built-in
A good hearth line looks as if the floor was always going to arrive there. That usually means a trim that follows the shape of the hearth neatly, a consistent shadow line and no sudden change in level. If the floor is herringbone, a simple border or a straight run into the hearth can make the junction feel planned rather than cut off. If it is plank, let the boards run past the chimney breast in a way that respects the room's main sightline.
Match the trim to the floor if you want it to recede. Match it to the skirting if you want the junction to read as part of the room's woodwork. Avoid mixing three different colours at the same point unless you are very sure of the effect.
Sequence the job around the fixed point
On site, the hearth should be protected before the first board is laid and checked again before the last bead goes on. If the floor needs acclimatising, do that before cutting around the hearth. If the hearth is being replaced, get it in before the flooring is finished so the final line is set against the real thing, not a temporary board.
The last check is simple. Stand in the doorway and look at the hearth line. Then kneel down and look along it. Then run a hand over the junction. It should feel tight without being trapped, level without being rammed, and neat without a fistful of filler. If it looks like an afterthought, it probably was — and that is why the hearth deserves a line on the plan long before the flooring lands.